When you start to build out your Acabado blog you typically are very limited on the look and feel of the entirety of your site. There was a request on how you could implement adding in a image for categories instead of just the category name.
The ability to add a little image to those category views can add a lot to your blog for very little overhead and very little setup. There is two ways to maintain this style of work, you can either do code which will allow each category to have its own image or use normal CSS to pick a single image to have behind all categories.

function acabado_wp_term_image_url() {
  // image id is stored as term meta.
  $image_id = get_term_meta( get_queried_object_id(), 'image', true );

  // image data stored in array, second argument is which image size to retrieve.
  $image_data = wp_get_attachment_image_src( $image_id, 'full' );

  // image url is the first item in the array (aka 0).
  $image = $image_data[0];

  if ( ! empty( $image ) ) {
      return esc_url( $image );
  }
}

add_action( 'wp_head', function () { ?>
	<style>
		header.page-header {
    		background: linear-gradient( rgba(0, 0, 0, 0.5), rgba(0, 0, 0, 0.5) ), url(<?php echo acabado_wp_term_image_url() ?>);
    		background-size: cover !important;
    		padding: 70px 25px 70px 25px;
    		margin: 15px 0px 25px 0px;
		}

		h1.page-title {
 	   		color: #ffffff;
			margin-bottom: 0px;
		}

	</style>
<?php } );
Once these steps are in place you are now able to start going through and taking a look as you fine tune everything, hopefully this helps you out and allows you to add a new customization to your site!
header.page-header {
    background-color: aliceblue;
    background: linear-gradient( rgba(0, 0, 0, 0.5), rgba(0, 0, 0, 0.5) ), url(https://acabadotheme.com/wp-content/uploads/2020/04/f6c098f….jpg) !important;
    background-size: cover !important;
    padding: 50px 20px 20px 50px;
    margin: 15px 0px 25px 0px;
}

h1.page-title {
    color: #ffffff;
}I never want to just look like everyone else, this is one of the largest issues with Acabado in general, it is very plain and every site looks like a clone of others.
This is why I continue to make little tweaks so that everyone can build out a site that works for them and is visually stimulating for their visitors also. Hopefully this helps someone out, I feel it adds some nice changes to the Category pages and Tag pages.
One of the things which have driven people crazy with Acabado is the fact that WooCommerce won't load, it is near impossible to have an "on-site" storefront.
The rating stars in Acabado have no ability to change within the controls. We cover how to use the Custom CSS option to modify and set the color manually.
The Acabado theme was created by Income School and is a quick to setup theme which drives you directly to creating blog posts and content with minimal work!
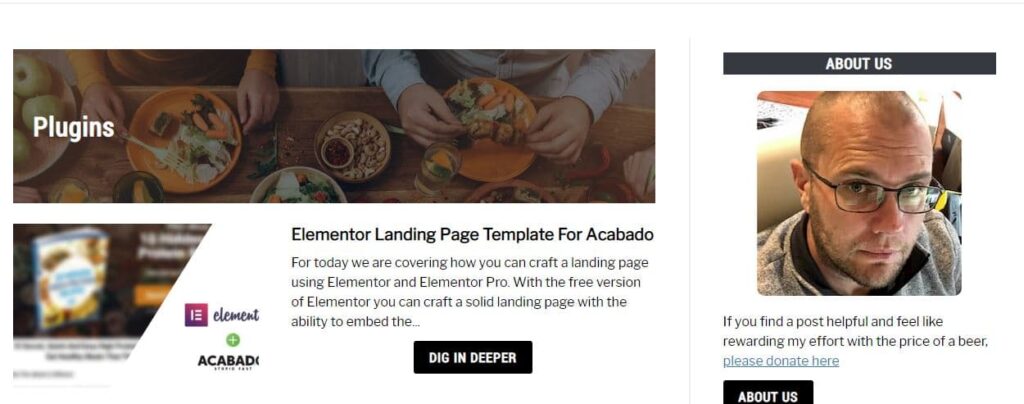
Covering how you can use Elementor to build a landing page for your website to sell an e-book, info product, or pull a email signup list with giveaway!
Acabado has a Hero Image which works well for a desktop view but it is cropped and unusable in mobile view for most, this method allows you to replace the image