For today we are covering how you can craft a landing page using Elementor and Elementor Pro. With the free version of Elementor you can craft a solid landing page with the ability to embed the capture form into the main landing page using mailerlite or similar.
Now within Acabado there is some issues with fonts having default colors set which can cause you to experience issues within the editor and on the published pages that you build. I cover those in the CSS below which includes the CSS to fix anything in your replication of this landing page.
Make sure to add this to your Custom CSS to allow for editing in the editor and to ensure the display works properly on the front end after you are done.
p {
    color: unset;
    font-size: unset;
    line-height: unset;
}

.elementor-button {
    font-family: unset;
    font-weight: unset;
    background-color: unset;
}
The video is finishing and will be a walkthrough on how I made a version of a high protein website, which I chose as it featured an ebook and capture for an email list which I feel most of us could use in our website day to day to start capturing our visitors information.
This was a nice exercise with Elementor and shows how fast you can build out your idea with the pagebuilder if you have an idea on what you want on the landing page.
Original Site (thehighproteinhandbook.com)
I have uploaded the landing page example so you can import it into your site as a template where you can swap out images and tweak the text for a nice clean ebook landing page.
Google Drive Link with all Templates
You will need to create a page in your website and name it [ Elementor Home ] for example, though you can name it anything but [ home ] as you want the slug to be different. Once created you will want to [ Edit with Elementor ].
You will want to click on the folder icon in the middle of the edit page which is templates.

Then you will want to click on the upward arrow in the top right for upload a template (from the download above)

Then you will want to select the file you downloaded from above. Once you complete the import you will see it in the list similar to below:
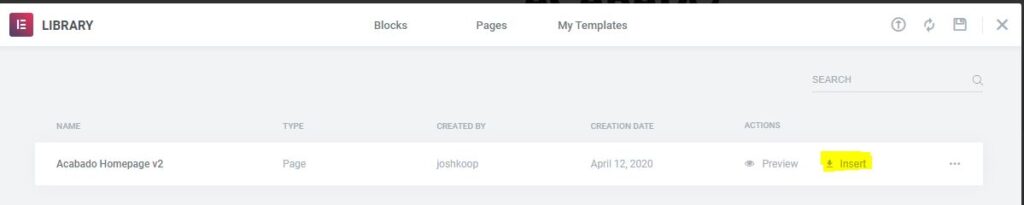
You will want to click that [ Insert ] button to add it to the page.
Click [ Yes ] to the import warning as it will overwrite everything on the page.
You are now ready to proceed to the below to understand the elements built in the template.
I did this one as a video to show how you can use Elementor to put together very high quality pages for your Acabado site to allow you to make the pages which other tools like ClickFunnels or LeadPages have you pay a good chunk monthly for.
Though there is a newbie on the scene for a much better cost and far more performance, check out Systeme.io as they offer funnels, email marketing, courses, info products sales and much more starting at only $29 a month!
Building your pages yourself allows for you to maximize the traffic value to you and your business. They can be your way to successfully launch your info product or course and drive it to be exceptional.
Please note with Elementor and page building you will get lower page speed scores unless you implement WP Rocket, or possibly Ezoic’s Site Speed Optimizer. Additionally, note that if you are a member of Project 24 you get early access to Ezoic (1-2k+ are accepted) and free access to the site speed optimization once you complete the sign up process.

For the links like the about button to function they pull content, sometimes hosting will detect this and block the functionality and this is meant to help ID.
Running Woocommerce on Acabado is a nice way to get you a storefront that runs exceptionally fast to have a storefront like dropshipping or more!